How to use “Hoop Connectors”
The first thing you may need to do is clean the connectors. They get a bit of oily residue and sometimes some graphite during the manufacturing. I've found that putting them in warm water with some grease cutting dish detergent and swishing them around a bit works well. Rinse well and let them air dry for several hours before using.

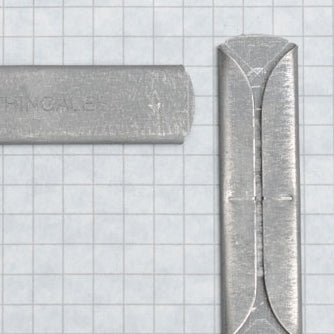
The "hoop connectors" were designed by one of our customers and Farthingales had them made. They are constructed of rust proof steel that increases their functionality but decreases the aesthetic appeal. These are not universal; they were engineered to fit specific steel. Two sizes are available.
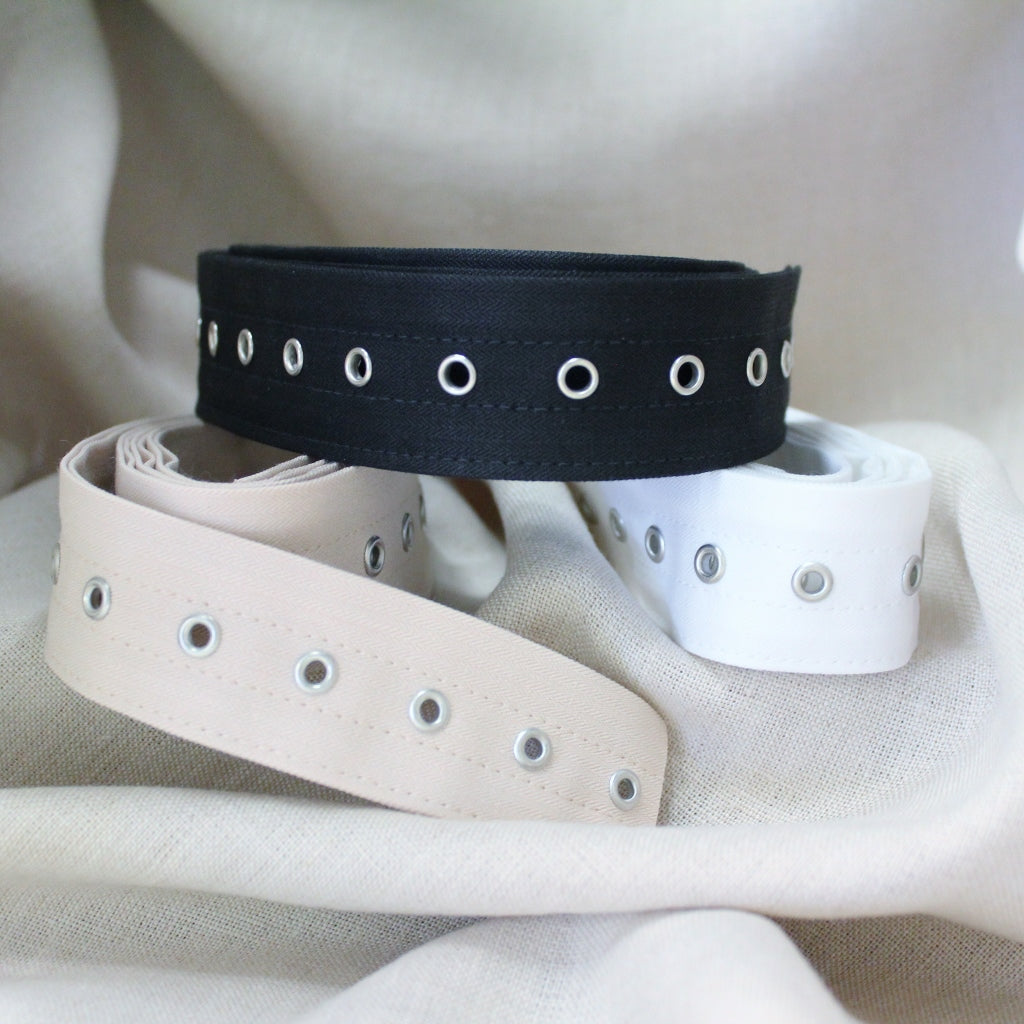
NOTE: when making your hoop steel casing measure the width of the connector in order to be sure it will slide through the casing also.
- Slide the hoop connector onto one end of a length of steel, allowing for the extra length gained by adding the connector measure your steel starting at the exterior tip of the connector and then cut the steel at the desired length.

- Leave the connector on the steel and use it as the leading end when sliding it into the casing you have made. The connector has rounded ends and will not catch on the casing. Slide the steel into the casing until the connector comes out the other end.
- Slide the connector onto the "tail" end of the steel that should be sticking out from the casing where you started and push far enough in to make a firm connection.


Note: You may need to loosen the connector before sliding in the steel, if so use a flat screw driver to pry up the edges, slightly. If needed, use pliers to re tighten.
Back view of connector when in place:


Leave a comment
All comments are moderated before being published.
This site is protected by hCaptcha and the hCaptcha Privacy Policy and Terms of Service apply.